The mood board: a.k.a, the adult collage. Sure, we know what you’re thinking. What’s the point of printing, cutting and pinning cute things to a cork board, when you can do it all online without the fuss on Pinterest?
But mood boards are a fun and crafty way of brightening up your room and keeping a little inspiration on your walls.
Making a mood board is fun and easy. We’ll break it down for you step by step.

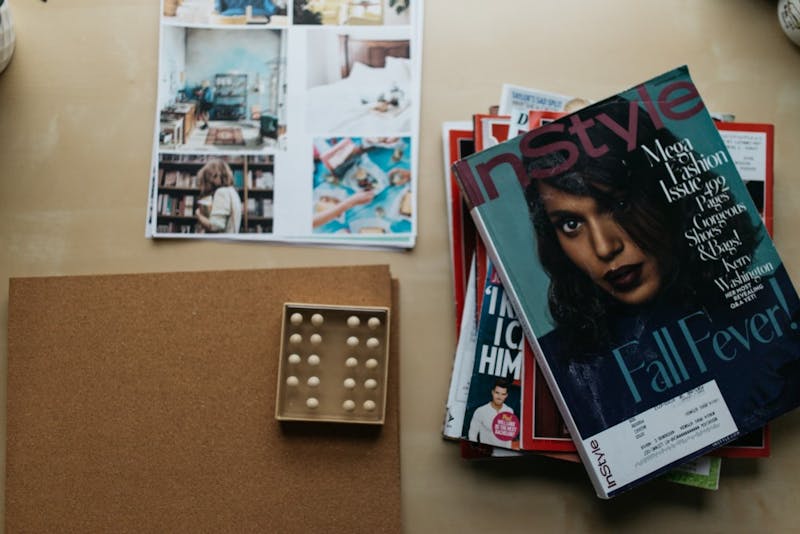
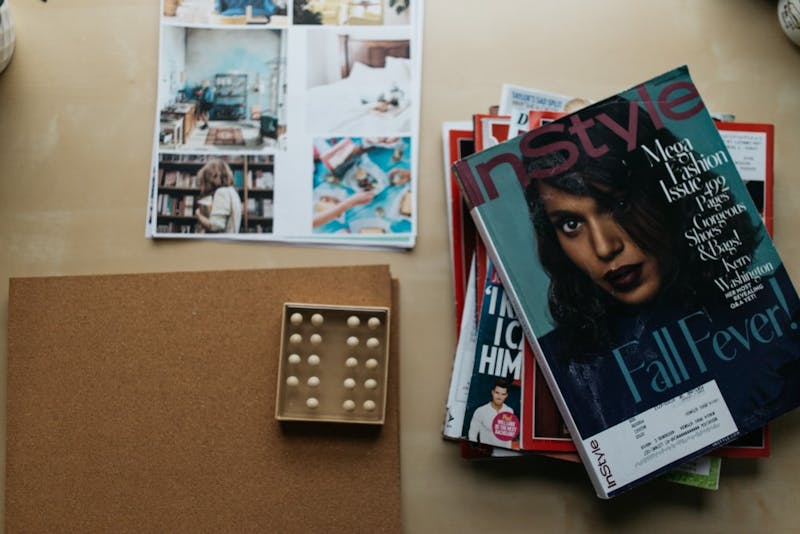
First, get your base materials. You can buy a four set of 12x12 cork tiles on Amazon for as low as $5.94. Make sure you have a hefty set of push pins as well. If you really want to get fancy, Amazon has some very cute wooden, or stylized ones for under $10.

You’ll also need some type of adhesive to hang up the boards on your wall. Any seasoned dorm decorator knows that Fred Meyer is stocked with a wide variety of command strips that will work perfectly for sticking these artsy creations on your wall. We recommend these.
Now, you can get started on the fun part: filling your mood board.
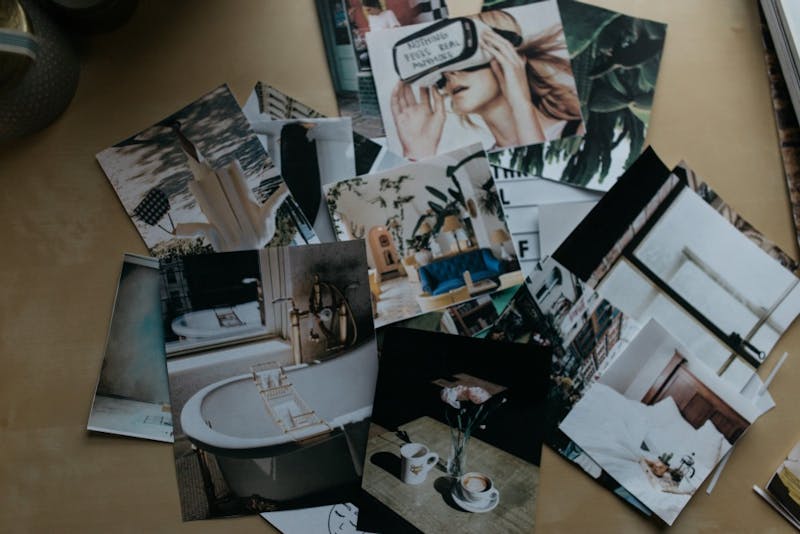
Having access to a color printer can really open up your options for mood board materials. You can scroll through Pinterest and Tumblr, finding a wide variety of photos, quotes or clothing that truly embody your ~aesthetic~.
Stick as many as you want into

But if you don’t have access to a color printer, don’t fret. You can also cut photos out of magazines, or even go to Walgreens and get some photos developed.

If you want to get really creative, start collecting some quirky pins or patches to tack on your board. You could even go into a paint store or Home Depot and pick up some paint swatches!
Once you’ve gotten all your materials, it’s so simple, we probably shouldn’t even have to explain it to you.
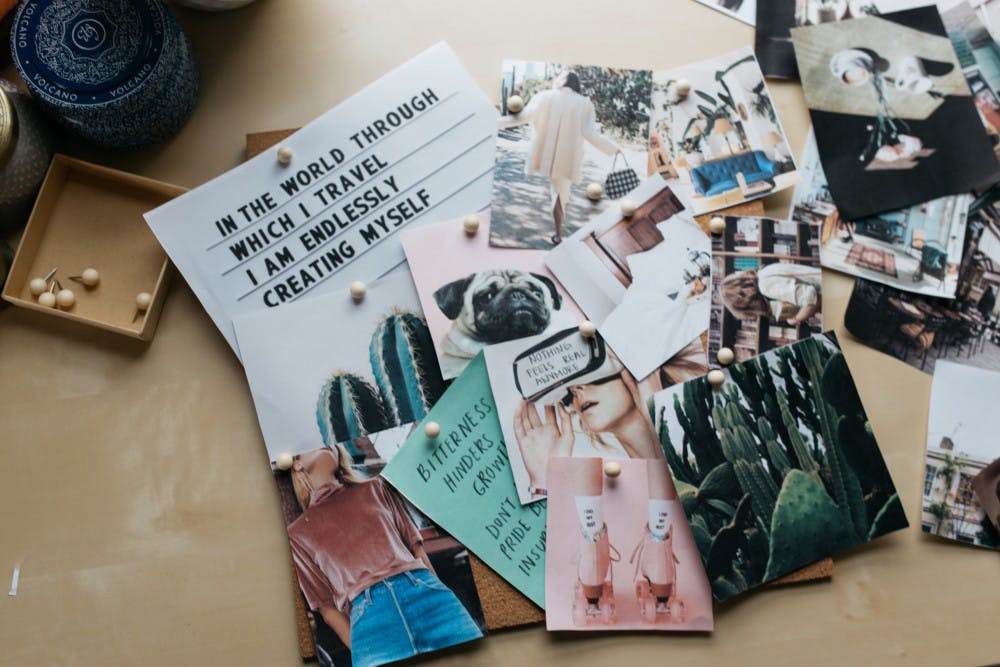
Just start tacking! Turn your photos in all different directions to create a messy, artistic collage vibe. Once you’ve filled up your board, or boards, grab your command strips and stick it on the wall. If you have multiple boards, you can stick them up in square or triangular formations,


